Fill
Create a new Fill
To create a fill, select a shape, then use the plus button under the Fill and Stroke section of the Inspector. Be sure to select Fill from the new menu. You’ll be able to tell that a layer is a fill by looking at the color box on the left side.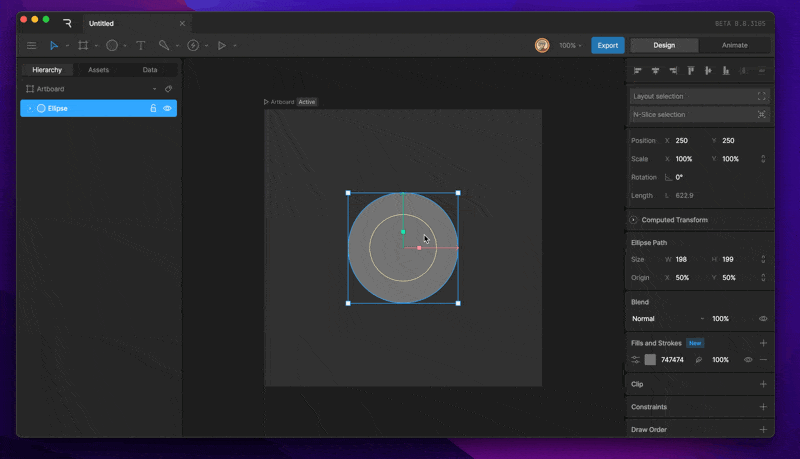
Changing Fill color
To change the color of a Fill, select the color box on the left side of the Fill layer. This will open the Color Picker. From there, you can use the various sliders to choose which color you’d like for the Fill.
Changing Fill Type
When a new shape is created, by defualt the shape will have a solid fill. When a new fill is added, by default the fill type is set to linear. We often need to change the fill type between the different types. This can be done by selecting the color box.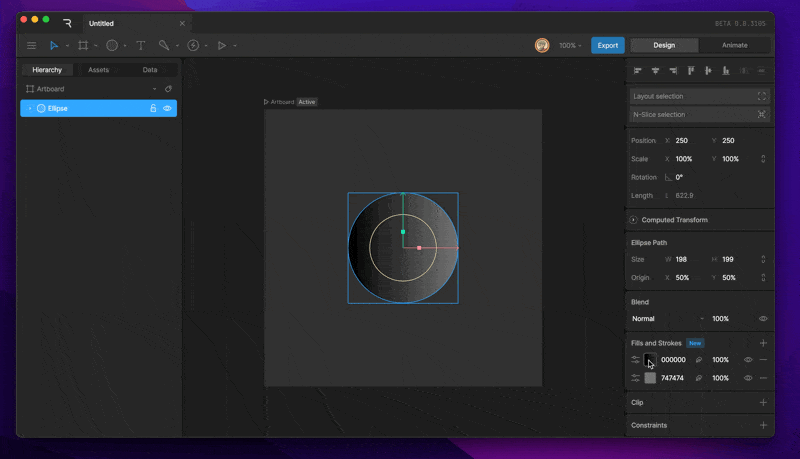
- Solid
- Linear Gradient
- Radial Gradient
Changing Fill color (Gradient)
To change the color of a Fill, select the color box on the left side of the Fill layer. This will open the Color Picker.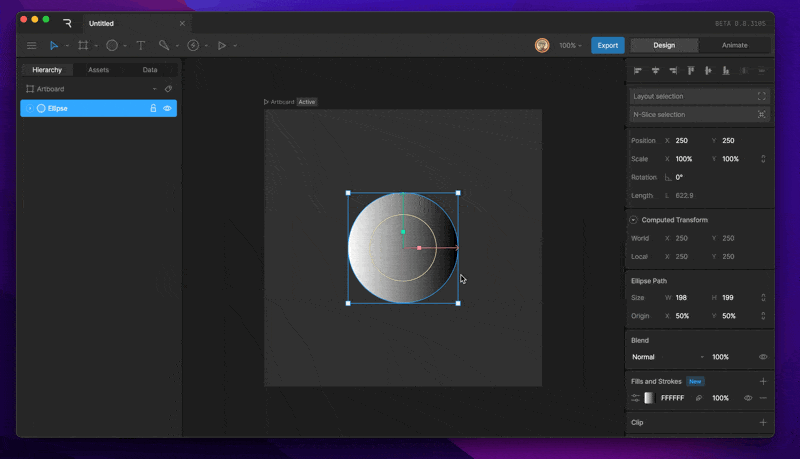
Changing the color of a stopper
To change the color of a particular color stopper, start by selecting the stopper you’d like to change. Next, use the various sliders to choose which color that stopper should be.Adding and removing stoppers
To add a new color stopper, click any space along the long that isn’t currently occupied by another stopper. This will generate an additional color stopper.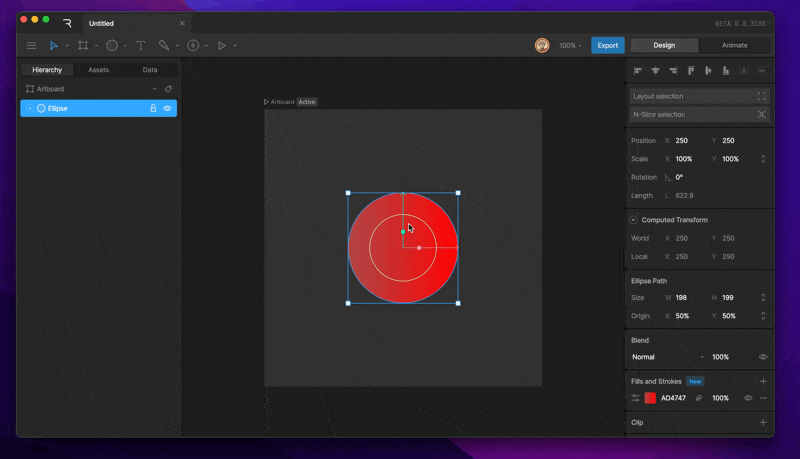
Change Fill Order
The order in which fills are organized in the fill determine their render order with fills on top being rendered in the front and fills at the bottom being rendered at the back.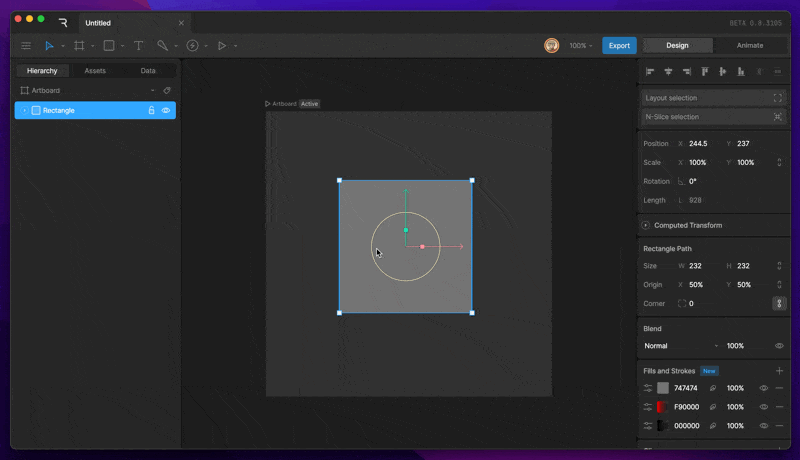
Fill Properties
Each Fill has its own properties which can be edited and keyed on the timeline. Some of these properties can be found by using the fill option button.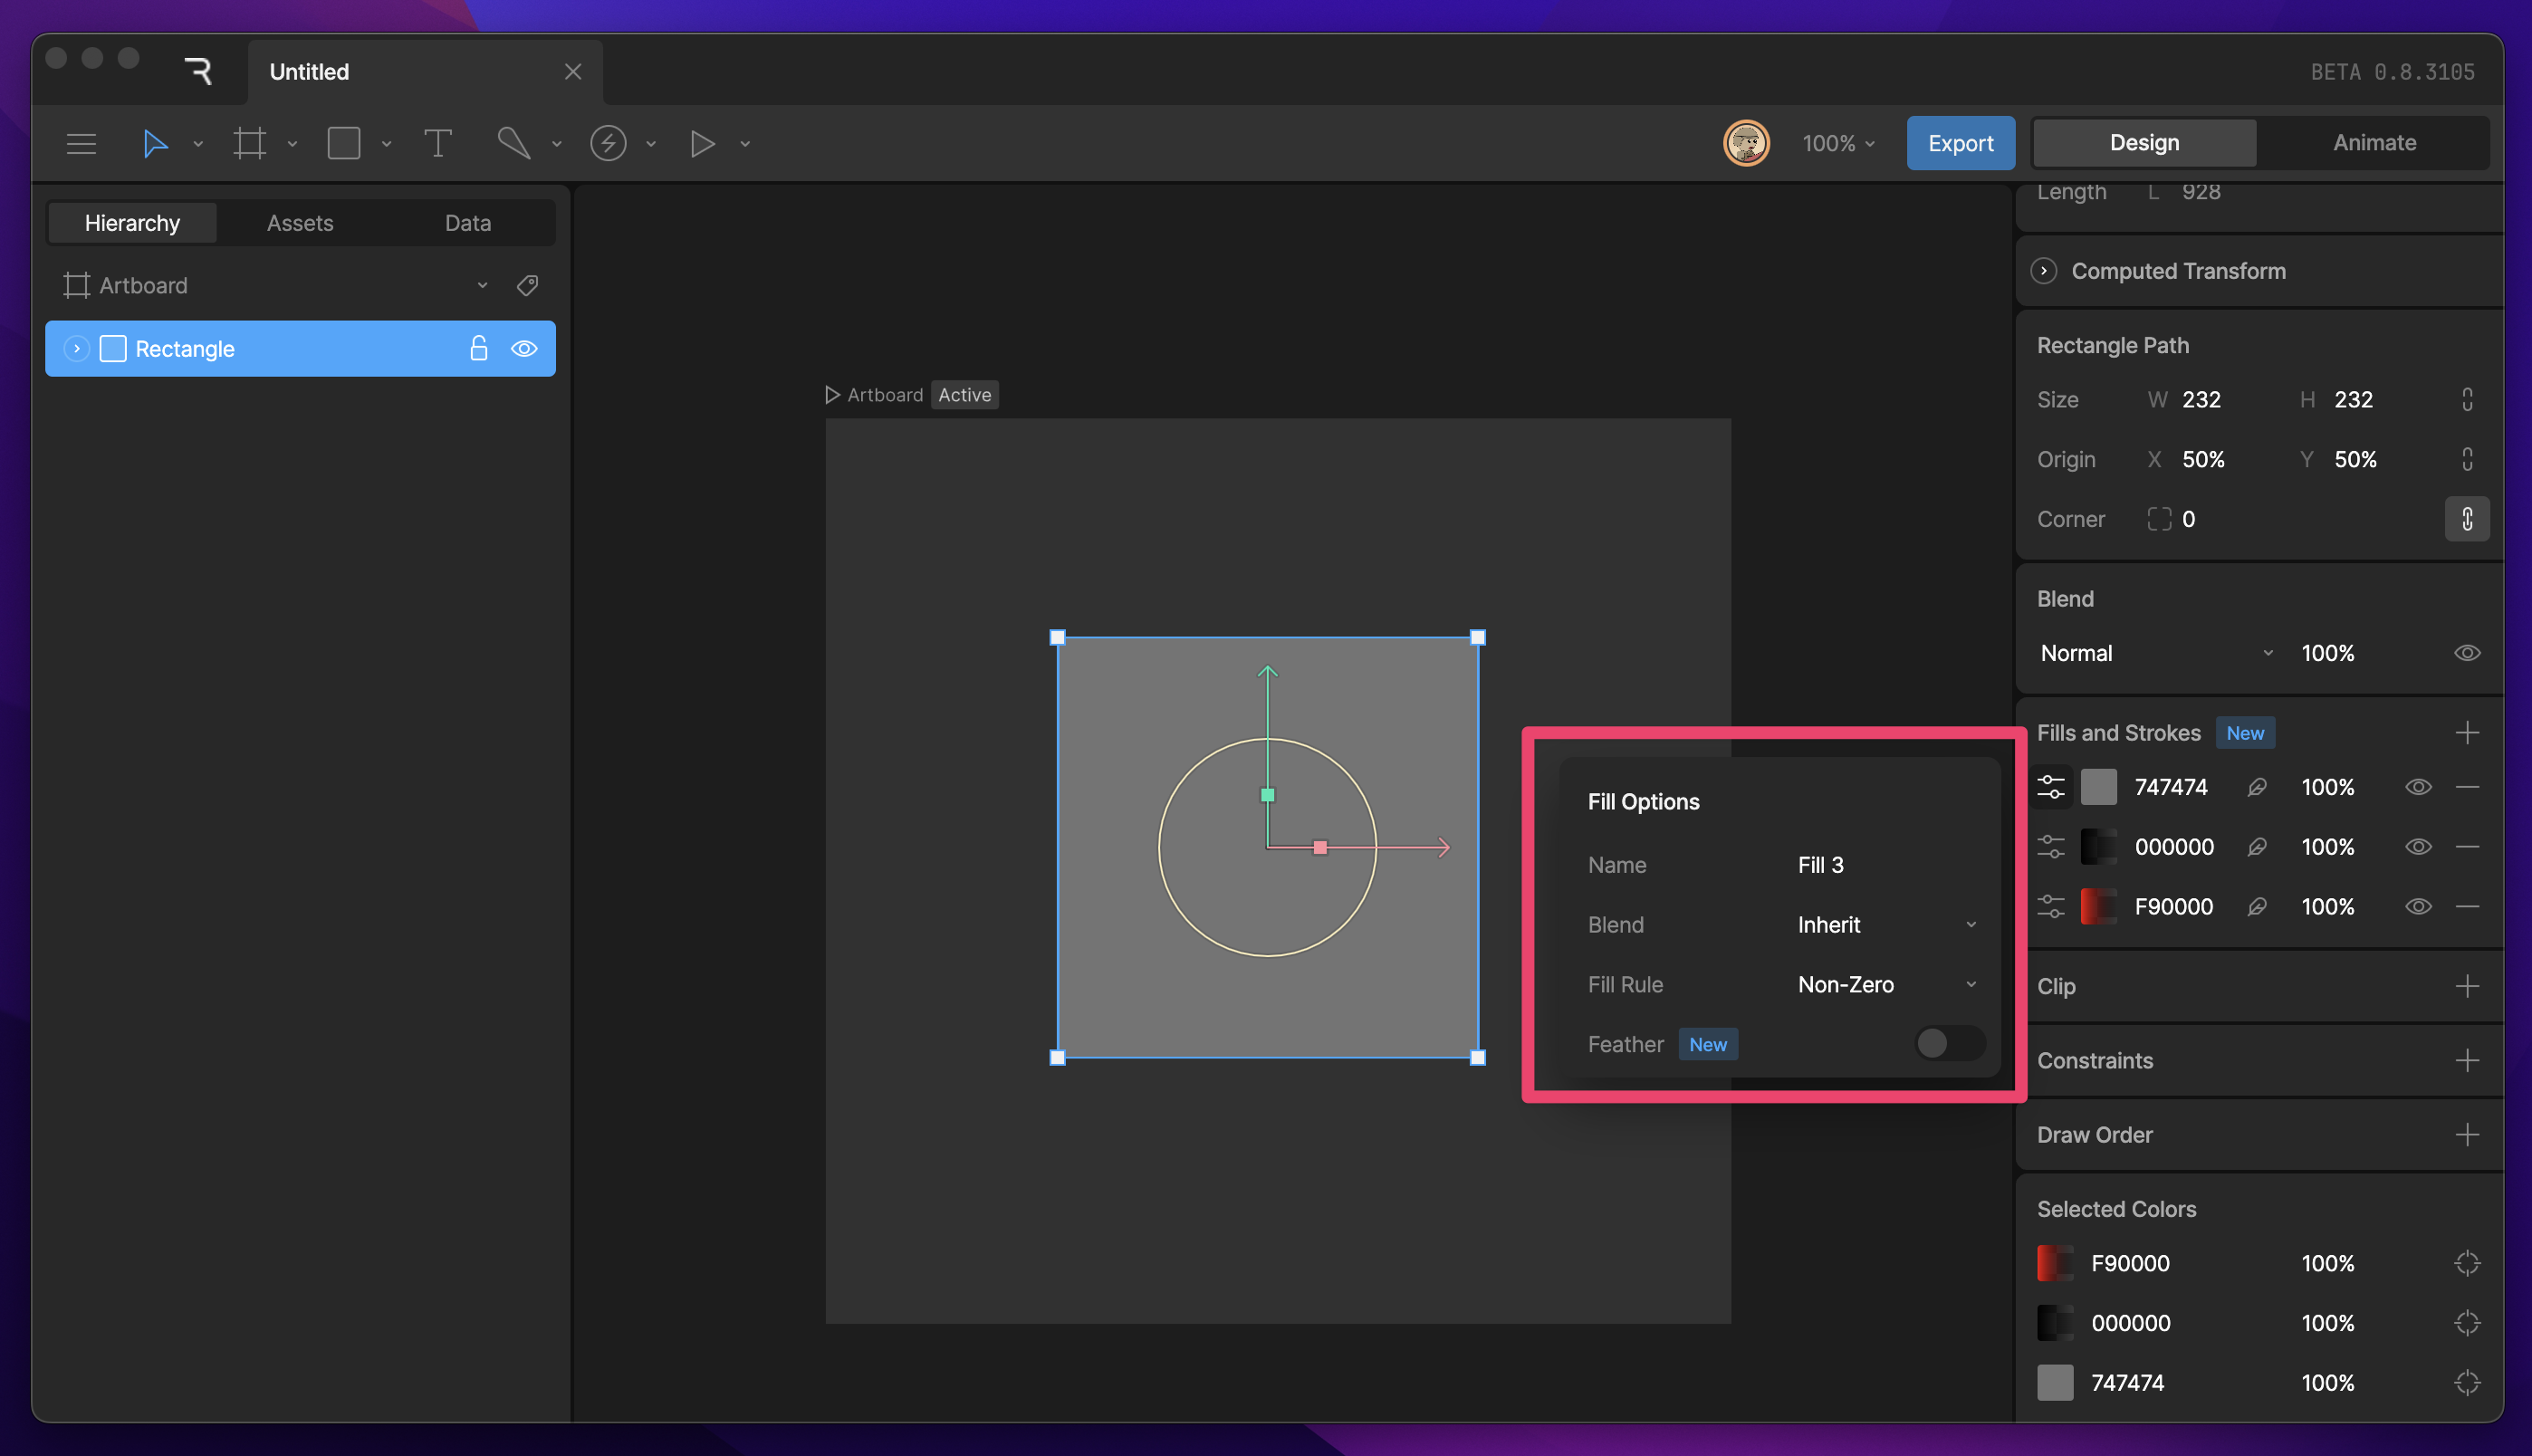
Deleting and hiding a Fill
Often times we’ll need to delete or hide a particular Fill. This can be done by selecting the shape, then using the eye icon to hide the Fill, or the minus icon to delete the fill.
Fill Rule
The Fill Rule determines how overlapping paths in a shape will be filled:
- Non-Zero assigns a +1 value to clockwise paths and a -1 value to counter clock wise paths. Areas that equal a value other than 0 will be filled.
- Even-Odd assignes a +1 value to clockwise paths and a -1 value to counter clock wise paths. Areas that equal an even value will be filled while odd values wont be.
- Clockwise a Fill Rule exlusive to Rive. This fill rule enables manual subtraction of paths which can be found in edit vertices mode. This fill rule is also required for shapes where you’d like to enable vector feathering.
Stroke
Create a new Stroke
To create a Stroke, select a shape, then use the plus button under the Fill and Stroke section of the Inspector. Be sure to select Stroke from the new menu. You’ll be able to tell that a layer is a Stroke by looking at the color box on the left side. Strokes are represented by an outlined box.
Changing stroke color (solid)
To change the color of a Stroke, select the color box on the left side of the Stroke layer. This will open the Color Picker. From there, you can use the various sliders to choose which color you’d like for the Stroke.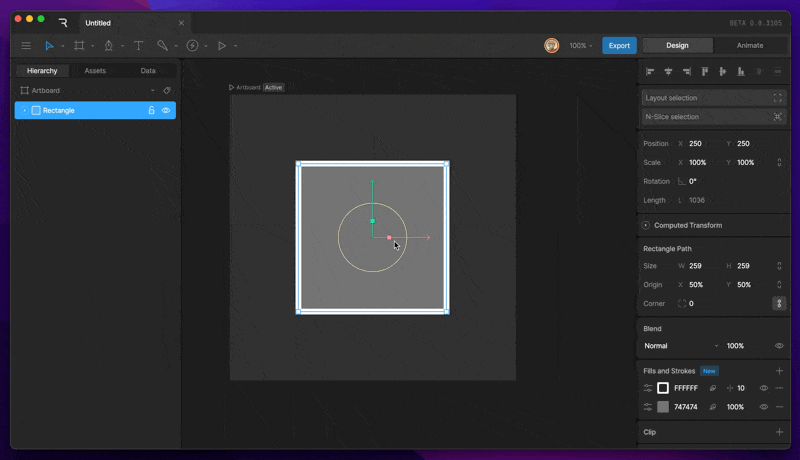
Changing Stroke type
By default, strokes are set to a solid color, but various stroke types are avaiable from the Color Picker menu.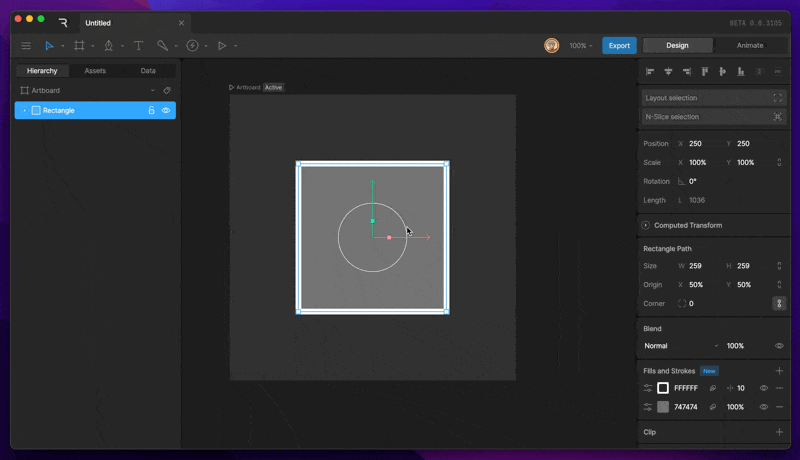
- Solid
- Linear Gradient
- Radial Gradient
Changing Stroke color (Gradient)
To change the color of a Stroke, select the color box on the left side of the Stroke layer. This will open the Color Picker. When a gradient is selected, you’ll notice a new bar appear above the color picker. This repersents the color of the gradient at different points. By default, a gradient has two points.Changing the color of a stopper
To change the color of a particular color stopper, start by selecting the stopper you’d like to change.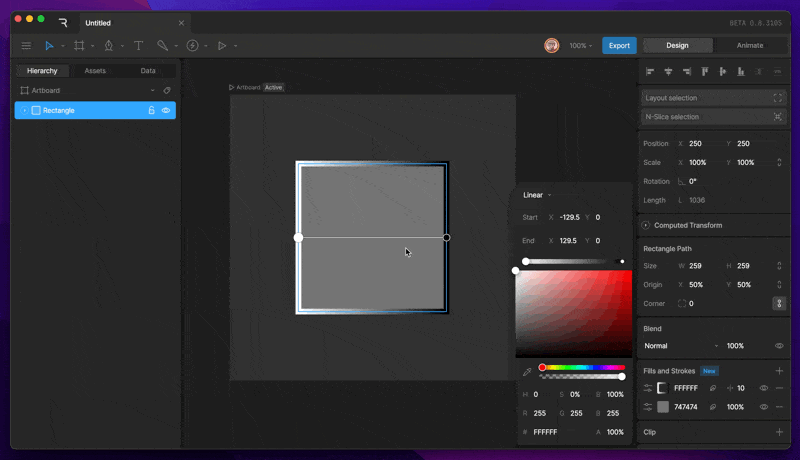
Adding and removing stoppers
To add a new color stopper, click any space along the long that isn’t currently occupied by another stopper. This will generate an additional color stopper.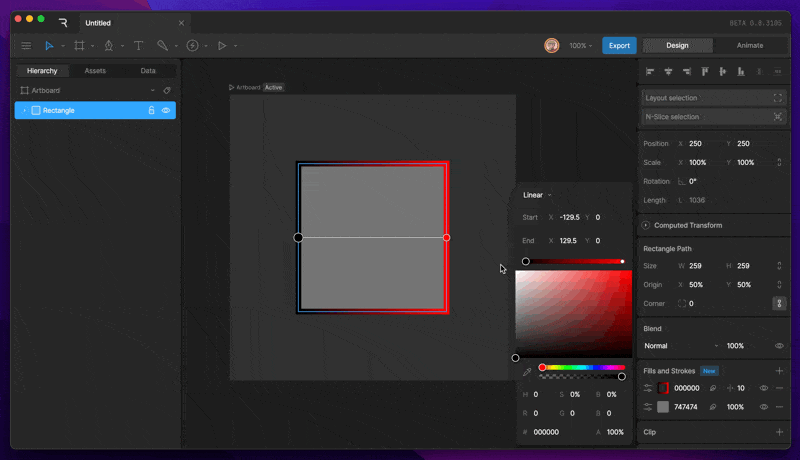
Deleting and hiding a Stroke
Often times we’ll need to delete or hide a particular Stroke. This can be done by selecting the shape, then using the eye icon to hide the Stroke, or the minus icon to delete the Stroke.Stroke Properties
Each Stroke has its own properties which can be edited and keyed on the timeline. Some of these properties can be found by using the Stroke option button. Stroke Name - You can edit the name of a Stroke using this property. Blend - This option can be used to change the Blend Mode of an individual Stroke. By default, this mode will be set to inherit, which inherits the blend mode from the shape layer. Cap - This option changes the end cap of a Stroke. Read more about the different Caps below.- Butt The end of the stroke is a straight line and does not extend beyond the end vertices. On a zero-length path, the stroke will not be rendered at all.
- Round The ends of a stroke are rounded. On a zero-length path, the stroke is a full circle.
- Square The ends of a stroke are squared off and extend beyond the end vertices. On a zero-length path, the stroke is a square.
- Round creates a rounded corner.
- Bevel creates a beveled corner.
- Miter creates a mitered corner.
- Solid - Renders the stroke as a solid stroke. This is the default stroke type for each new stroke created.
- Trim - Lets you animate the start, end, and offset of a line segment. Read more here.
- Dashed - Lets you create dashed strokes with animateable property like the length of the dashed segment and offest. Read more here.
Vector Feathering
Vector feathering is a new way to feather both Fills and Strokes. Vector Feathering is a technique we invented at Rive that can soften the edge of vector paths without the typical performance impact of traditional blur effects.Enabling Vector Feathering
There are two main ways to enable vector feathering on any Stroke of Fill.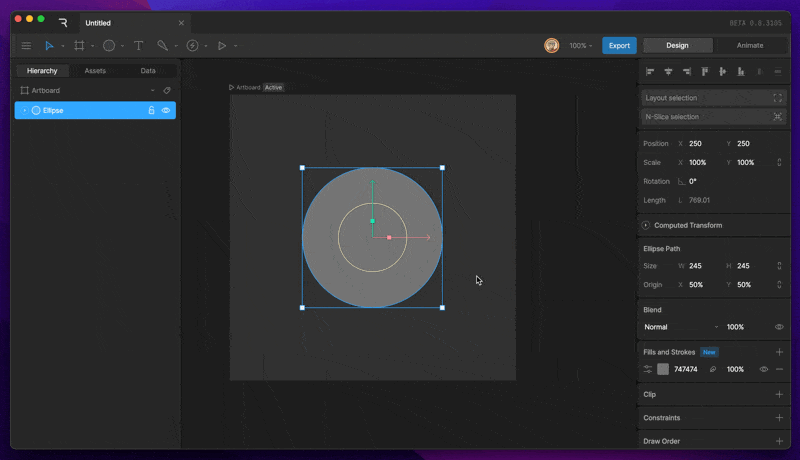
- Feather Icon - The feathering icon can be used on any Fill or Stroke layer to enable vector feathering.
- Feather Toggle - The feather toggle can be found in the Fill / Stroke options panel.
Feathering Options
Feathers can be customized in a number of ways. The Feathering options can be found in the options panel once Feathering has been enabled on a Fill or Stroke. Direction - This option lets you choose which direction the path will feather as you increase the feather amount.
- Outter - This option creates a feather that will feather outward from the path.
- Inner - This option creates a feather that will feather inward from the path.
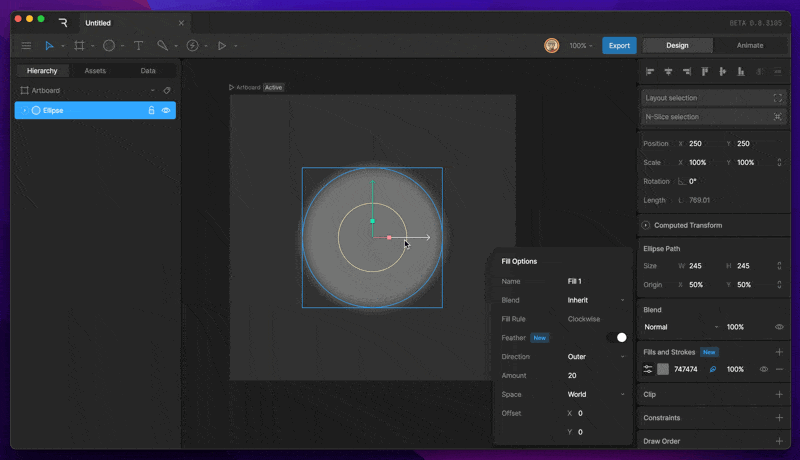

- World - Transforms will be applied from the world transform. Feather will now act as a drop shadow.
- Local - Transforms will be applied from the local transform. This mode will have the feather work with transforms as you’d expect.