- Menus with a dynamic amount of options
- Product listings
- Notifications or activity feeds
- Chat messages
- Dropdown menus
- Contacts, friends, or followers lists
- High scores, tables, and more
Artboard Lists
Artboard Lists enable you to generate a number of list items using an Artboard to represent each item in your List. Artboard Lists must be added as children of an Artboard or Layout. To add an Artboard List to the stage, first select either an Artboard or a Layout. In the inspector on the right side of the editor, you will see a button to add an Artboard List. Click it to add the List to your hierarchy. It will appear as a child of the Artboard or Layout had previously selected.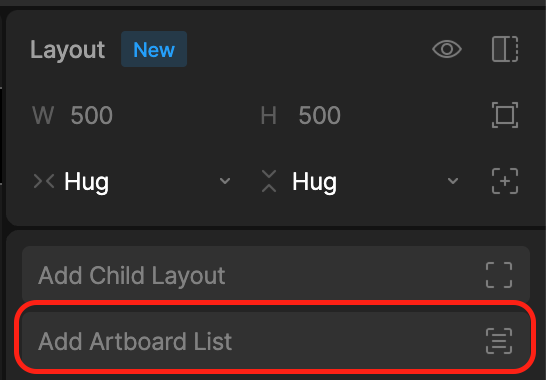
- Using the View Model List property
- Using a View Model Number property together with a Number to List converter
View Model List Property
Before continuing, it’s important to understand the fundamentals of Data Binding, in particular, what a View Model is, how to create one and how to bind it to an object’s properties. Learn more in the Data Binding Overview.
1
Create a List Item View Model
Navigate to the Data tab in the Editor. Click the + button beside View Models to create a View Model (this will represent your List item)
2
Bind the List Item View Model to your Item Artboard
Bind that View Model to an Artboard that you want to use to render your List item. This is where you may also want to create additional View Model properties and bind those to object properties on that Artboard.
3
Create your Main View Model
Click the + button beside View Models to create another View Model (this will be the View Model that contains your List and should be bound to the Artboard where you want your List to render)
4
Add a List property
Select the newly created View Model and click the + button next to it. From the popout select List. This adds a List property to the View Model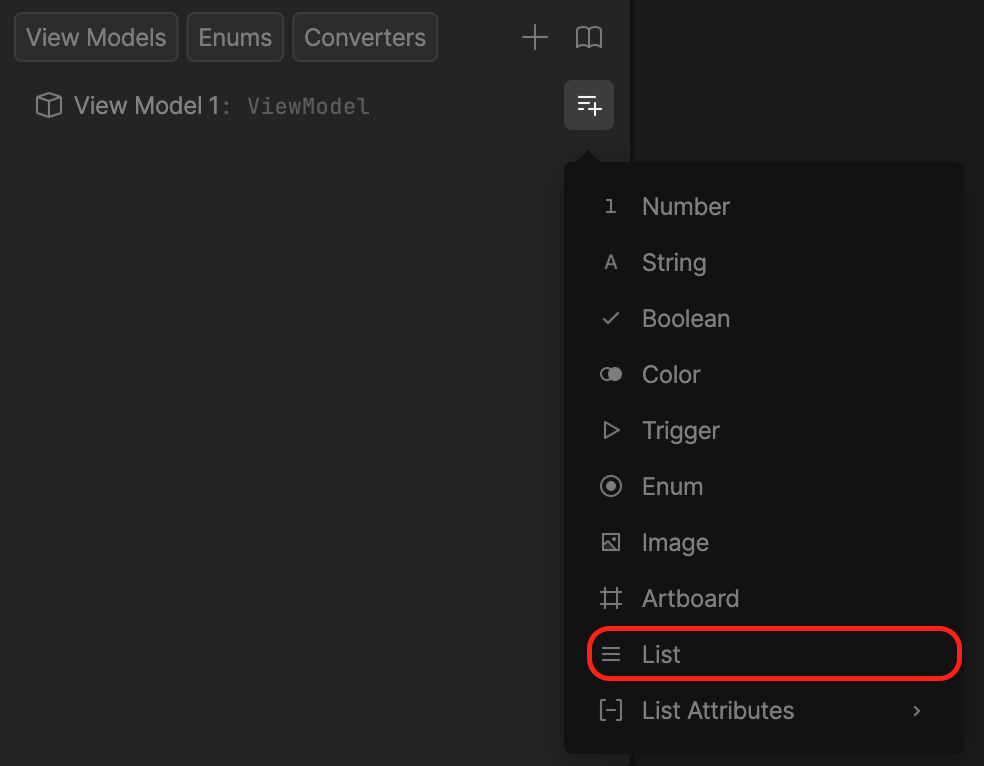
5
Add List Items
Select the List property and in the inspector on the right, you can add items by clicking Add List item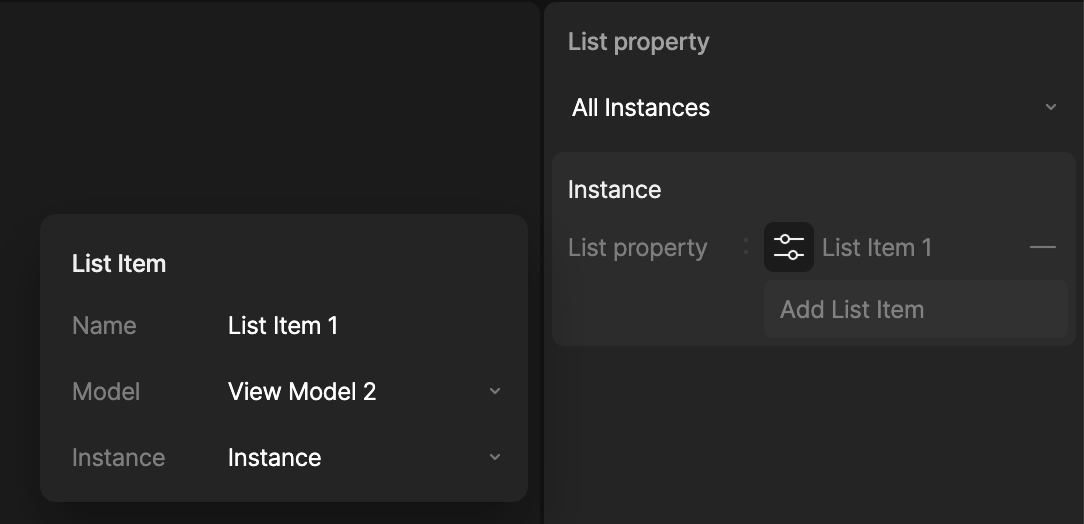
6
Bind the List property to your Artboard List
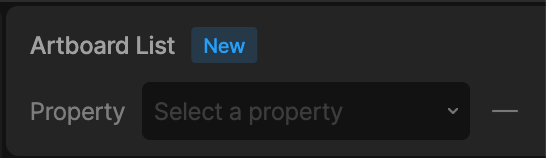
After adding your List items, go back to the Hierarchy tab, select the Artboard List, and from the Artboard List property dropdown, select the ViewModel List property you created above.
Rive’s runtimes provide APIs to modify the List and List items at runtime (for example, adding or removing items).
View Model Number with Converter
The second way to populate your list is by specifying the number of items you want in your List along with the ViewModel (Artboard) you want to instance. This can be done using a View Model Number property in combination with the new Number to List converter. To Create a View Model Number to List converter and bind it to an Artboard List:1
Create a List Item View Model
Navigate to the Data tab in the Editor. Click the + button beside View Models to create a View Model (this will represent your List item)
2
Bind the List Item View Model to your Item Artboard
Bind that View Model to an Artboard that you want to use to render your List item. This is where you may also want to create additional View Model properties and bind those to object properties on that Artboard.
3
Create your Main View Model
Click the + button beside View Models to create another View Model (this will be the View Model that contains your Number property and should be bound to the Artboard where you want your List to render)
4
Add a Number property
Select the newly created View Model and click the + button next to it. From the popout select Number. Select the newly created Number and in the inspector, set the number of items you want in your List
5
Add a Number to List converter
Click the + button and choose Converters > List > Number to List.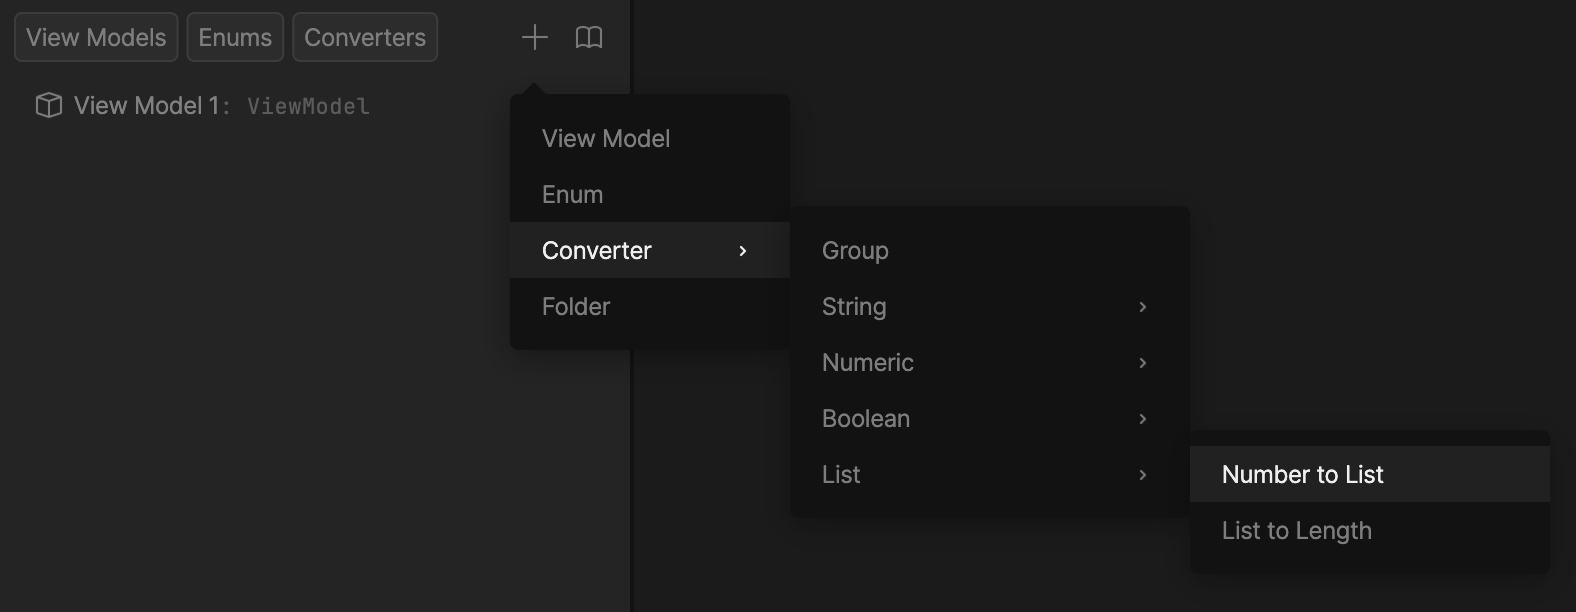
6
Set the View Model to use in the converter
Select the created converter and in the inspector, choose the View Model that you created earlier that represents your List item. The converter will convert the Number of items to actual Artboard items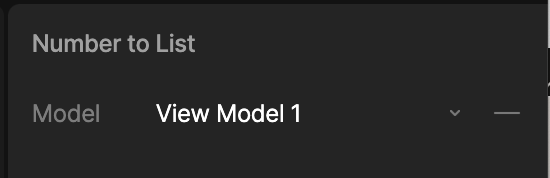
7
Bind the Number property and converter to your Artboard List
After adding your Number property and converter, go back to the Hierarchy tab, select the Artboard List, and from the Artboard List property dropdown, select the ViewModel Number property you created above. The Combobox will show a yellow outline. Right click the Combobox and choose Update Bind. In the converter field, select the Number to List converter you created. The yellow outline should change to green.
View Model List Item Index
There may be times where it is useful for the Artboard to know at which index it exists within its parent List. This is available using the View Model list item index property. This can be added to your item’s View Model by clicking the + button and selecting List Attributes > Index.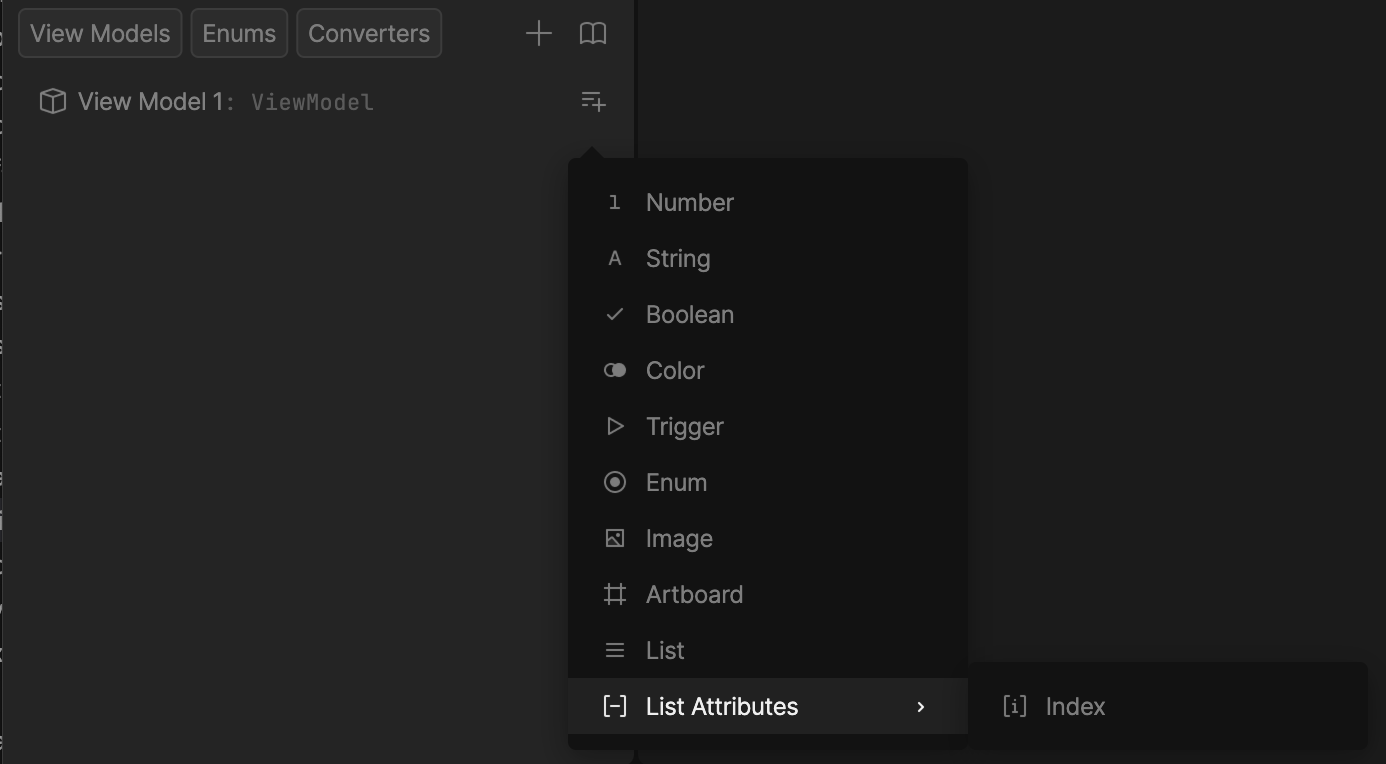
When using item index with the List property and list items, be aware that if more than 1 list item is bound to the same View Model instance, they will share the same index value